
White-Box Penetration Testing with Claude Code
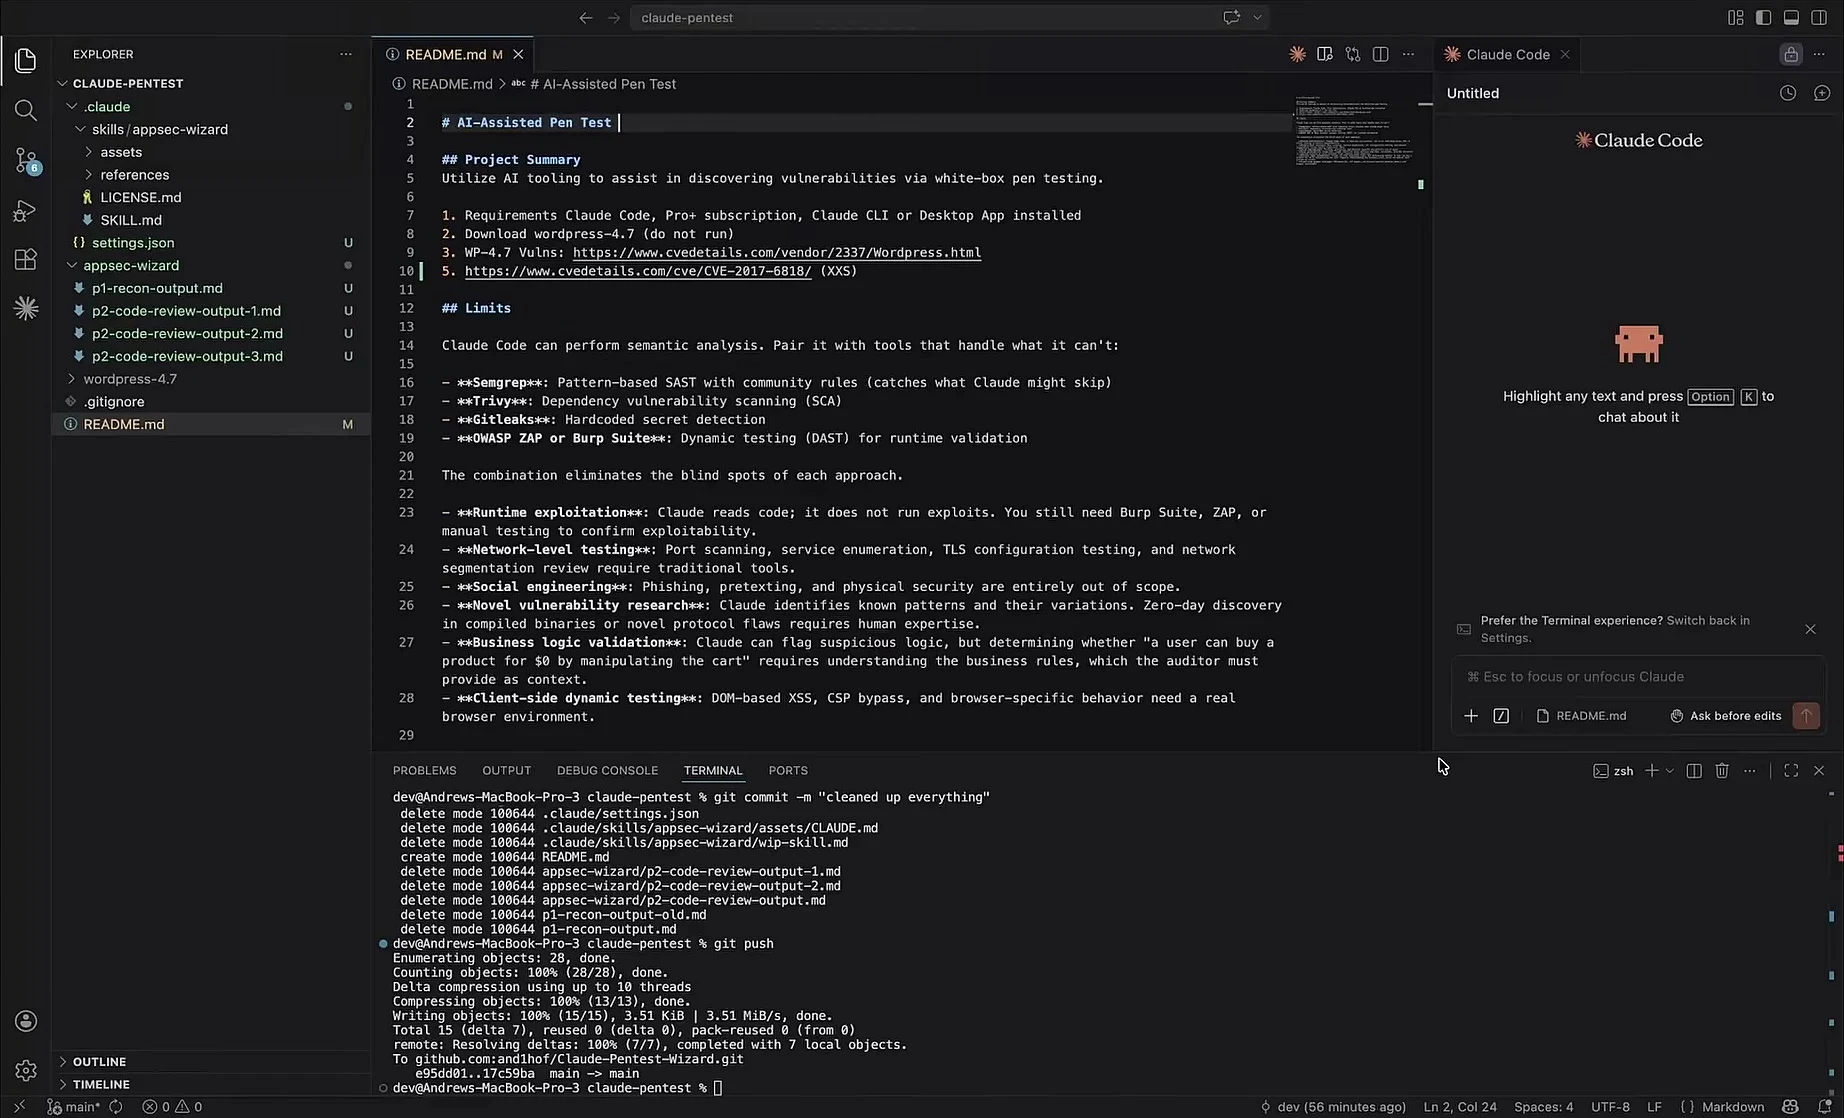
Note: This post is a companion to my YouTube video tutorial where I walk through this entire workflow against a live codebase. If you prefer to watch instead of read, everything below is covered there.
Overview
Over the last year I’ve been folding agentic AI tooling into my day-to-day application security work, with one useful use of AI tooling being white-box penetration testing. This article covers white-box pen testing with Claude Opus, without the use of Mythos or specialized pen-testing harnesses.
White-box testing means we have access to the source code, so we’re performing semantic and logical analysis of the way an application’s code flows. This is different from black-box penetration testing, which is usually done against a live production environment with no visibility into the underlying code.
From my experience, this still requires a human in the loop. I have not seen a reliable case where an agent goes end to end and finds every known vulnerability on its own versus a human expert. There are still classes of problems where a human expert outperforms the agent. That may change in the future, but for now the realistic goal is to speed up the process, not replace the person running it.
What You’ll Need
If you want to follow along exactly, you’ll need:
- Claude Code, either the CLI or the desktop application, installed on your machine
- A paid Claude subscription so you have access to the stronger models and enough usage to work through a real codebase
- A local copy of a codebase you’re authorized to test
There are other tools that work here too, including open-source agents and Claude’s competitors. You can follow approximately the same steps with those, but this tutorial is written around Claude Code. If you’re using something else, apply some critical thinking and adjust the workflow where it makes sense.
The Target: WordPress 4.7
For the demonstration I’m looking for security vulnerabilities in an old version of an open-source project: WordPress 4.7, which you can grab from the WordPress release archive.
I chose 4.7 deliberately. It was popular in the 2017 to 2018 time frame and it has a large number of publicly documented vulnerabilities. If you pull it up on cvedetails.com you’ll see SQL injection, cross-site scripting, directory traversal, and more.

Around this era WordPress had roughly eighteen known cross-site scripting vulnerabilities alone. That density of well-documented, reproducible bugs makes it an excellent practice target when you’re learning how to run agent-assisted security reviews.
The specific bug we’re going to hunt for is CVE-2017-6818, a cross-site scripting vulnerability in tags-box.js. A stored taxonomy term name gets rendered into the page by client-side JavaScript and executed as script. This vulnerability is immediately DOM-XSS (on term submission in the UI) and later also appears as stored XSS after being persisted on the server. It affects WordPress up to and including version 4.7.2.

Where AI Helps, and Where It Doesn’t
Before jumping in, it’s worth being honest about the pros and cons, because knowing the limitations is what keeps you from trusting the output blindly.
Claude is good at semantic analysis. It can read a large amount of source code and give you the gist of what’s going on far faster than a human could evaluate the same volume of code.
Tradeoffs include lack of determinism in practice (different prompts lead to different outputs), cost of tokens, high false positive output, inaccurate findings due to Claude sometimes having outdated versions or documents somewhere in it’s training data, etc. Make sure to always double check the work of Claude, and reproduce any findings on your own.
A few things I’d caution against:
- Don’t drop your deterministic tooling. Static analysis tools like Semgrep have tried-and-true detections for a lot of common vulnerabilities that Claude might skip or miss entirely. They’re more deterministic but less flexible and can’t analyze business logic. As of right now, I think it’s best to use agentic tooling alongside traditional static analysis, not instead of it.
- Dependencies are better handled deterministically. You can ask Claude to look at your dependency tree, but a purpose-built software composition analysis tool is going to do a better job.
- Don’t rely on it for secret detection. It will catch some secrets, but it won’t catch all of them, especially anything that doesn’t match a common pattern in its training data.
- This is not dynamic analysis. You still need to actually run and test the application. Reading code tells you where a bug might be, not that it fires in a running system.
With all of that said, I think adding agentic assisted pen testing to your toolkit is worth the tradeoffs as a security engineer in 2026 and onward.
Codifying the Process as a Skill
Repeatability matters a lot in penetration testing. You want to get the same structured results run after run, across many different repositories. To get that consistency I’ve codified my entire process into a Claude skill I call AppSec Wizard.
A skill is really just a bundle of instructions and assets you hand to Claude Code so it behaves the same way every time. The core lives in a SKILL.md, but skills can also carry references, templates, documentation, and code files (often Python) alongside it.
I intend to open-source my skills soon, but for the time being there are many OSS alternatives available on the web and it’s easy to make your own.

I’ve split my process into three phases. The phases are implemented as follows:
Phase 0: Initialization and Sandboxing
Whenever I start a new agent-assisted penetration test, there are two things I want to sort out before anything else: the model, and the sandbox.
For the model, I want the strongest reasoning available. In the video I’m using Opus. If you drop down to a smaller, faster model like Haiku you’ll notice the quality of the analysis falls off. Source code analysis is one of the most demanding things you can ask an AI to do, so give it the best reasoning you have access to.
The second half of Phase 0 is configuration and sandboxing. The skill pulls in a settings.json from its assets with a reasonable set of permissions - allowing the bash commands that are useful for reading and searching source code, and denying the ones that could cause trouble.

There are a few settings worth calling out specifically:
- Disable telemetry, error reporting, and the feedback survey. This cuts down on network calls, and more importantly it keeps you from reporting errors against a codebase you probably don’t want to share. There’s always some risk of log leakage where a log file captures information straight out of the code you’re reviewing.
- Keep thinking mode enabled. As I mentioned, this is one of the most complex tasks you can hand an AI, and you want as much reasoning applied as the model can give you.
- Enable the sandbox. This is key. My skill mirrors Claude Code’s built-in sandbox feature into
settings.jsonand does two important things: it lets Claude read everything in the current working directory, and it denies Claude the ability to write anything in that directory. It will still prompt if it tries to write, which matters, because we do want it to produce output files as markdown.
The sandbox is not foolproof. If you want stronger process isolation, run this inside a Docker container or something similar. Read through the sandboxing documentation and decide what your environment needs.
One more piece of best practice: do this work on a branch. You don’t want the configuration and scratch files from a penetration test landing in version control. Create a new branch, bring over your settings.json, run the process, and when you’re done throw the branch away and keep only the results - the vulnerability findings, the recon output, and so on.
Phase 1: Reconnaissance
Application reconnaissance is about building a map of an application before looking for bugs. When I run recon I’m asking Claude to identify frameworks, databases, ORMs, and auth libraries, and for each relevant file to note its entry points, its trust boundaries, and its dependencies.
What recon is explicitly not doing is looking for vulnerabilities. Performing deep vulnerability analysis across a large number of files burns an enormous number of tokens and racks up cost fast. So the first pass is a deliberately surface-level analysis over a broad set of files: how are they structured, what languages do they use, what do they depend on. The results get written to a structured markdown file, p1-recon-output.md.
I provide a bit of structure for that output so it stays consistent. In theory these models might be deterministic at a very low level, but in practical use they are not deterministic from one run to the next, especially across model updates. Giving the skill a set of general output-formatting guidelines and telling it to apply them every time buys you a lot of consistency.

Running recon against the WordPress admin JavaScript, the executive summary tells me this is basically all ES5 JavaScript - old code, which we already knew given the 2017 era. The frameworks in play are primarily jQuery and a handful of jQuery modules, with no databases, ORMs, or auth libraries, because this is mostly front-end code.
You’ll notice the report only covers three files. That’s on purpose. One of the quirks of working with large language models is that the more context you feed them, the less accurate the output becomes. So I copied a small set of files, including tags-box.js, into a dedicated test directory and ran recon against just those. You could point it at the entire admin JavaScript folder, but you’d spend a lot of tokens and dilute the quality. When you already know which files are likely (or unlikely) to hold security issues, narrowing the scope is how you optimize both your accuracy and your spend.

Zooming into tags-box.js, recon has flagged the interesting parts: it identified user input sources and it identified sinks, and under high-risk surface areas it’s suggesting there may be DOM-based XSS.
One caveat worth internalizing here: ignore the precise risk score. Putting exact percentage values on things is one of the areas where Claude is weakest. Treat these numbers as broad categories, not measurements. Don’t reason “this one is 40 and this one is 45, so the second is higher risk.” Read them as buckets - this scored low so it’s probably low, these scored medium to high so those deserve a closer look. Use it as an approximation to decide what to investigate, and nothing more precise than that.
At this point we don’t know there’s DOM XSS. Recon is a broad overview whose job is to tell us where to point the more expensive analysis. So we move on.
Phase 2: Code Review
Phase 2 is where we actually look for vulnerabilities, and it’s where the most important ideas in this workflow live. It’s broken into three steps.
Before the steps, one principle that drives the whole phase: scope down as far as you possibly can. I try to point the review at a single file, or the smallest set of files I can get away with. The larger the file, or the more files you provide, the more hallucination you get, the more context is lost, and the less accurate the findings become. I’ve evaluated this internally at work and it holds true almost without exception. The more precisely you can identify what to hand the agent, the better your results.
Step 1: Find the vulnerabilities
In the first step I tell Claude what to focus on, in priority order. I want it spending its resources on high and critical severity issues first, then medium, and I explicitly tell it not to burn much time on low-risk or best-practice findings.
I explicitly ask Claude to include with each finding a confidence score 0-100, CVSS score estimate, short title, short description (with reproduction steps) and example mitigation. Finally, I ask for a unique ID for each finding so I can easily reference it with follow-up questions.

Another important task to highlight in this phase is I ask Claude to score it’s work using points per finding, using the scoring point distribution highlighted in the screenshot above. Although like I mentioned Claude is not the most accurate at filling out CVSS scores, if it can get in the ballpark than the internal points-per-finding system becomes valuable.
Having an internal point scoring system allows me to gamify the outputs of agentic scans, letting me perform useful operations later on like having two agents compete against each-other to find more relevant issues or to drop a prompt from my workflow (when comparing multiple prompts) if it underperforms.
wp-admin/js/test/tags-box.js
On a large repository it’s often better to hand it absolute paths. In this small demo Claude already has tags-box.js in context from recon, which is one of the nice things about these models - they can reference earlier parts of the conversation.

The highest-severity finding it returns is exactly what we were after: DOM XSS via an unsanitized tag name and HTML string construction. But it also hands me two additional vulnerabilities. As we’re about to see, two of these are either hallucinated or already stopped by an existing mitigation. That is precisely why the multi-step approach matters. This is the same reason Anthropic runs an analysis pass after the initial review in their own Claude Code security review skill that runs on pull requests - they understand there’s a real capacity for hallucination, for missing an existing mitigation, or for flagging something that simply isn’t reachable.
Step 2: Adversarial self-review
Step two is what Anthropic calls adversarial self-review, and it’s the heart of the workflow. We hand the agent the findings from step one, and we flip its objective. It is no longer scored on how many vulnerabilities it can find. It is now scored on how many it can disprove.
The new job is to ask, for each finding: is this a hallucination? Is it a false positive? Is it unreachable or unexploitable? Different objective, different scoring criteria, different output file.

The results speak for themselves. It accepts the first finding - the DOM XSS is valid, with a rationale consistent with the real CVE. But it disproves the other two:
- The second reported DOM XSS is rejected because the server-side
escape_htmlcall is unconditional, hard-coded, and applied after the filter hook. In other words, an existing mitigation makes the original report misleading. - The reported CSRF issue is disproven because CSRF protection already exists in that path.
Sometimes it’s worth running this review more than once with specific instructions each time - one pass hunting for existing security mechanisms, another looking specifically for hallucinations, another for lack of reachability. As you build out your own workflow, take a handful of known, well-documented vulnerabilities and test your process against them. Use those as your baseline for judging how accurate your review actually is.
Step 3: Final review
Step three is the judge. Its role is to maximize the score by confirming the genuine vulnerabilities and marking the false positives and unreachable findings as invalid, which mostly amounts to checking whether step two made the right call. Here the scoring is simple: plus one if a finding is valid, minus one if it isn’t.
The other job of this step is to produce the deliverable - a well-formatted, well-organized report with clear summaries, OWASP and CVSS metadata, reproduction steps where possible, suggested fixes, and links to external references. This is close to the kind of output you’d hand a client.
Remember, you should never ship AI-determined findings without a human reviewing them first. Think of this final step as an automated judge that gets the output as clean and validated as the AI can manage. The human review still happens at the very end of any agentic or AI-powered workflow.
The Final Report
Here’s the final output for our target file.

The confirmed finding is TAG-01, DOM XSS via an unsanitized tag name. A few observations on how the agent characterized it:
- It categorized the bug as injection. That’s technically true since XSS is a form of injection, but I’d have liked it to break the classification down further. To be more precise, this is DOM XSS initially (on UI submission), that later persists and recurs as stored XSS after WP saves the payload.
- It assigned
CWE-79(improper neutralization of input during web page generation). That’s the correct canonical CWE for cross-site scripting. - It estimated a CVSS score of 5.4. The real base scores recorded for this CVE are 4.3 and 6.1, so 5.4 lands right in the middle of the right range.
- It reported medium confidence, which is useful signal - the model is telling you it isn’t certain.
The technical explanation it gives is accurate. The quickClicks function in tags-box.js renders tag names two different ways. The visible display uses jQuery’s .text(), which is safe:
// Safe: jQuery .text() escapes the value before insertion
span = $( '<span />' ).text( val );
But the adjacent screen-reader button is built by concatenating the raw val straight into an HTML string, which jQuery then parses as markup - and that is not safe:
// Unsafe: raw tag value concatenated into a string that jQuery parses as HTML
xbutton = $( '<button type="button" id="' + id + '-check-num-' + key + '" class="ntdelbutton">' +
    '<span class="remove-tag-icon" aria-hidden="true"></span>' +
    '<span class="screen-reader-text">' + window.tagsSuggestL10n.removeTerm + ' ' + val + '</span>' +
    '</button>' );
(A later fix not yet implemented in 4.7 simply swaps that trailing val for span.html(), reusing the already-escaped value from the safe span above.)
If a tag name containing markup reaches that second path, it becomes an XSS sink capable of executing arbitrary JavaScript. That inconsistency - one code path safely escaped, an adjacent one not - is exactly the pattern the review surfaced.
On reachability the report is measured: it calls the bug partially reachable, noting that you need some level of privilege to plant the malicious tag name, which reduces the population of potential attackers. This is a good reminder that your scoring model changes the resulting severity. Under something like OWASP Risk Rating, the required permissions would downgrade the finding.
When the AI Gets It Wrong
There’s one detail in that final report worth dwelling on, because it’s the most important lesson in the whole exercise.

When the agent analyzed whether a framework-level protection mitigates the bug, it pointed to a pre_term_name filter chain and sanitize_text_field stripping HTML from stored tag names. That sounds authoritative. The problem is that it appears to be describing a modern version of WordPress, not the 4.7 code actually in front of it. It hallucinated a mitigation - one that exists in later releases but is not present in this version.
This is subtle and it’s the kind of thing that will slip past you if you’re not paying attention. It’s also the single best argument for why manual triage and human analysis remain non-negotiable. The model was confident enough to still flag the issue as a real vulnerability (which is likely why it landed on medium rather than high confidence), and its bottom line was correct: the code defect is confirmed, and exploitability is conditional on a server-side defense bypass that is non-trivial but not impossible.
If you take that assessment, perform manual triage, and reproduce it by hand, you find that CVE-2017-6818 is in fact a valid vulnerability in WordPress 4.7 - patched in later versions, but live in this one, up to and including 4.7.2. The AI got us to the right doorstep quickly. A human had to confirm it was the right door.
Summary
That’s my full process for running an AI-assisted loop for white-box penetration testing:
- Phase 0 sets up the model, permissions, and a sandbox on a throwaway branch.
- Phase 1 runs cheap, surface-level recon to map the code and point you at the interesting files.
- Phase 2 finds vulnerabilities with a scoring algorithm, then adversarially disproves the weak findings, then judges the survivors and formats the report.
The two ideas doing most of the work are numeric scoring as a fitness function that carries conclusions across steps, and adversarial self-review that forces the agent to attack its own findings. Together they meaningfully cut down the false-positive rate that you’d otherwise drown in.
None of this removes the human. The hallucinated mitigation above is a reminder that the agent can be confidently wrong, and the last step of any workflow like this is still a person reviewing the output. But used this way, agentic tooling turns a slow manual read of a codebase into something far faster, and that’s a real addition to your security toolkit.
If you build on this and find better ways to bring down the hallucination rate, reduce token consumption, or improve how these models handle reachability and existing mitigations, I’d like to hear about it. You can also watch the full walkthrough on YouTube if you want to see every step in motion.